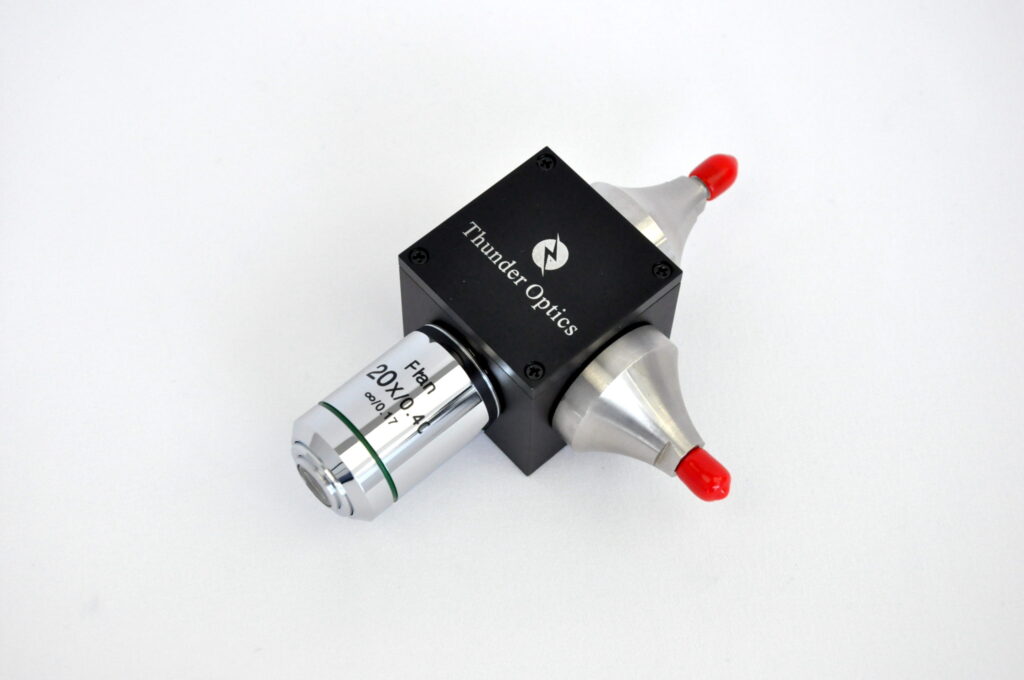
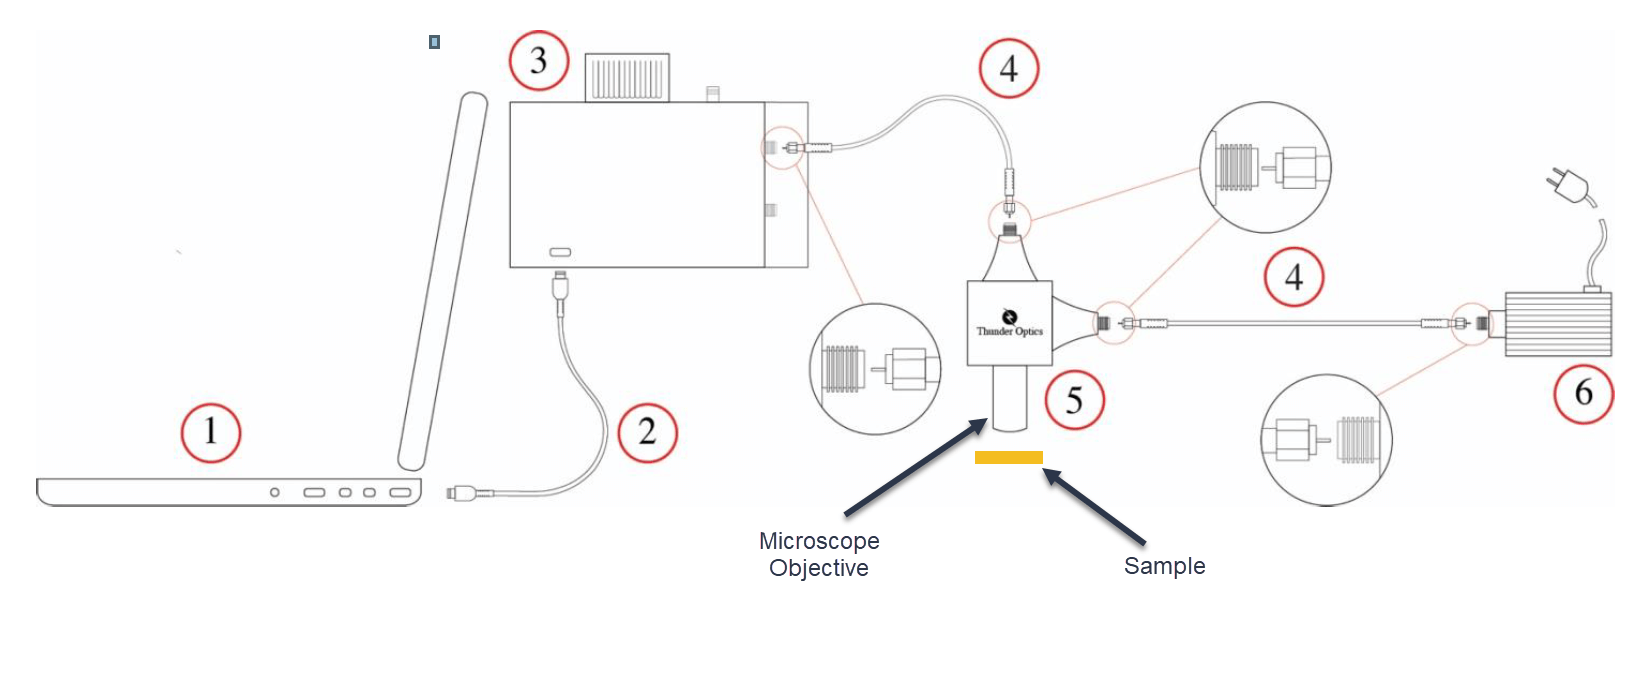
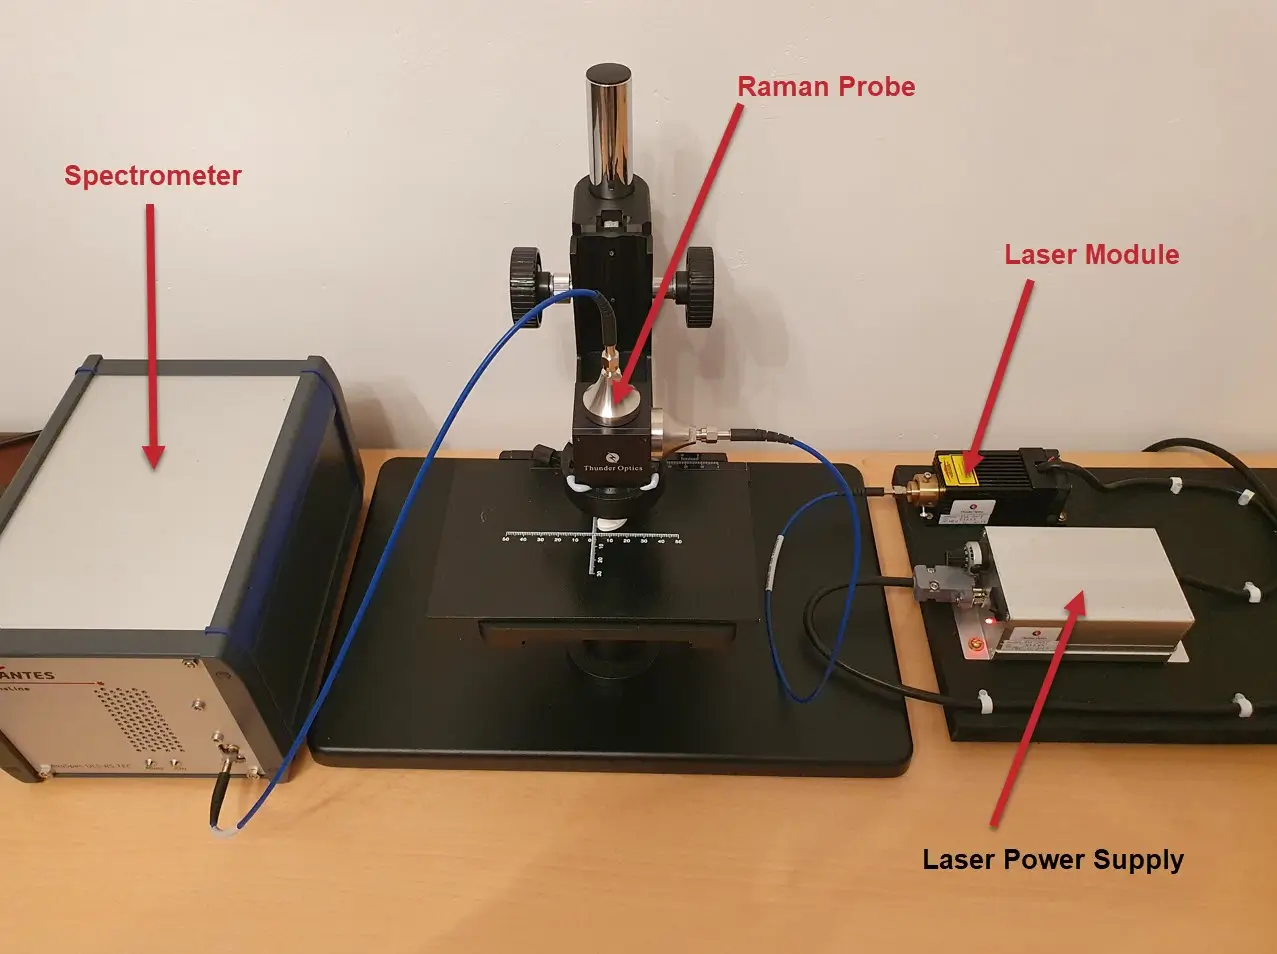
Perhaps the most important consideration when setting up a Raman system is deciding on which laser wavelength to use to excite a sample and produce a Raman spectrum. Modern DPSS (diode-pumped solid state) lasers come in a range of wavelengths across the UV, the visible and the near infrared (IR). They have become the light source of choice for compact Raman systems and microscopes.
The Raman Effect is an inherently very weak phenomenon and Raman scattered light is around a million times weaker than Rayleigh scattered light. The intensity of a Raman signal is governed by a number of factors, including the laser power used, the efficiency of the spectrometer (grating + detector) and the absorptivity of the sample that produces the scattering. But by far the biggest factor is the frequency (or wavelength) of the excitation light that is used.
The intensity of a Raman signal is directly proportional to the 4th power of the laser frequency and so is inversely proportional to the 4th power of the wavelength. Expressed mathematically,
IRaman = 1/λ4
So as the laser wavelength is increased, the intensity of Raman scattered light rapidly falls. If we compare the strength of Raman lines in a spectrum produced by a UV laser to a spectrum produced by a laser operating in the near IR, the spectral lines are of the order of 10-15 times weaker in the IR.
At first glance, therefore, we might immediately conclude that UV is best and the shorter the wavelength the better. But with many samples of interest, interference from fluorescence can be a big practical problem. With today’s Raman probes, a very wide range of different and complex heterogenous materials can be examined, such as minerals, polymers, oil paintings, archaeological specimens, and so on. Many of these samples fluoresce intensely under UV exposure, and quite often even with visible laser excitation. As a result, the strong fluorescence signal effectively hides the weak Raman scattered peaks.
If fluorescence is going to be a regular problem with your samples, it is probably better to choose a near IR excitation wavelength, such as a 785 nm diode laser, which has become very popular. However, because of the 1/λ4 relationship as explained above, the Raman signal will be much reduced. This means that long exposures and data acquisition times are often required in order to obtain a usable spectrum. This can be a problem with samples that are thermally sensitive and subject to chemical decomposition from the laser excitation light. IR lasers, at 1064 nm, can often cause sample heating, leading to degradation with fragile materials. But with highly fluorescent samples, that contain dyes for example, 785 nm or 1064 nm laser excitation may be the right choice.
With laser excitation in the near IR, the type of detector has to be reconsidered. CCD detectors are used for UV and visible wavelengths and are very efficient, but beyond 800 nm the quantum efficiency of CCD’s drops rapidly. Above 1000 nm CCD’s are no longer an option. When a 1064 nm laser is used, an InGaAs (indium-gallium-arsenide) detector is required. These detectors are more expensive than a standard CCD, and generally are lower in sensitivity and generally higher in read-out noise.
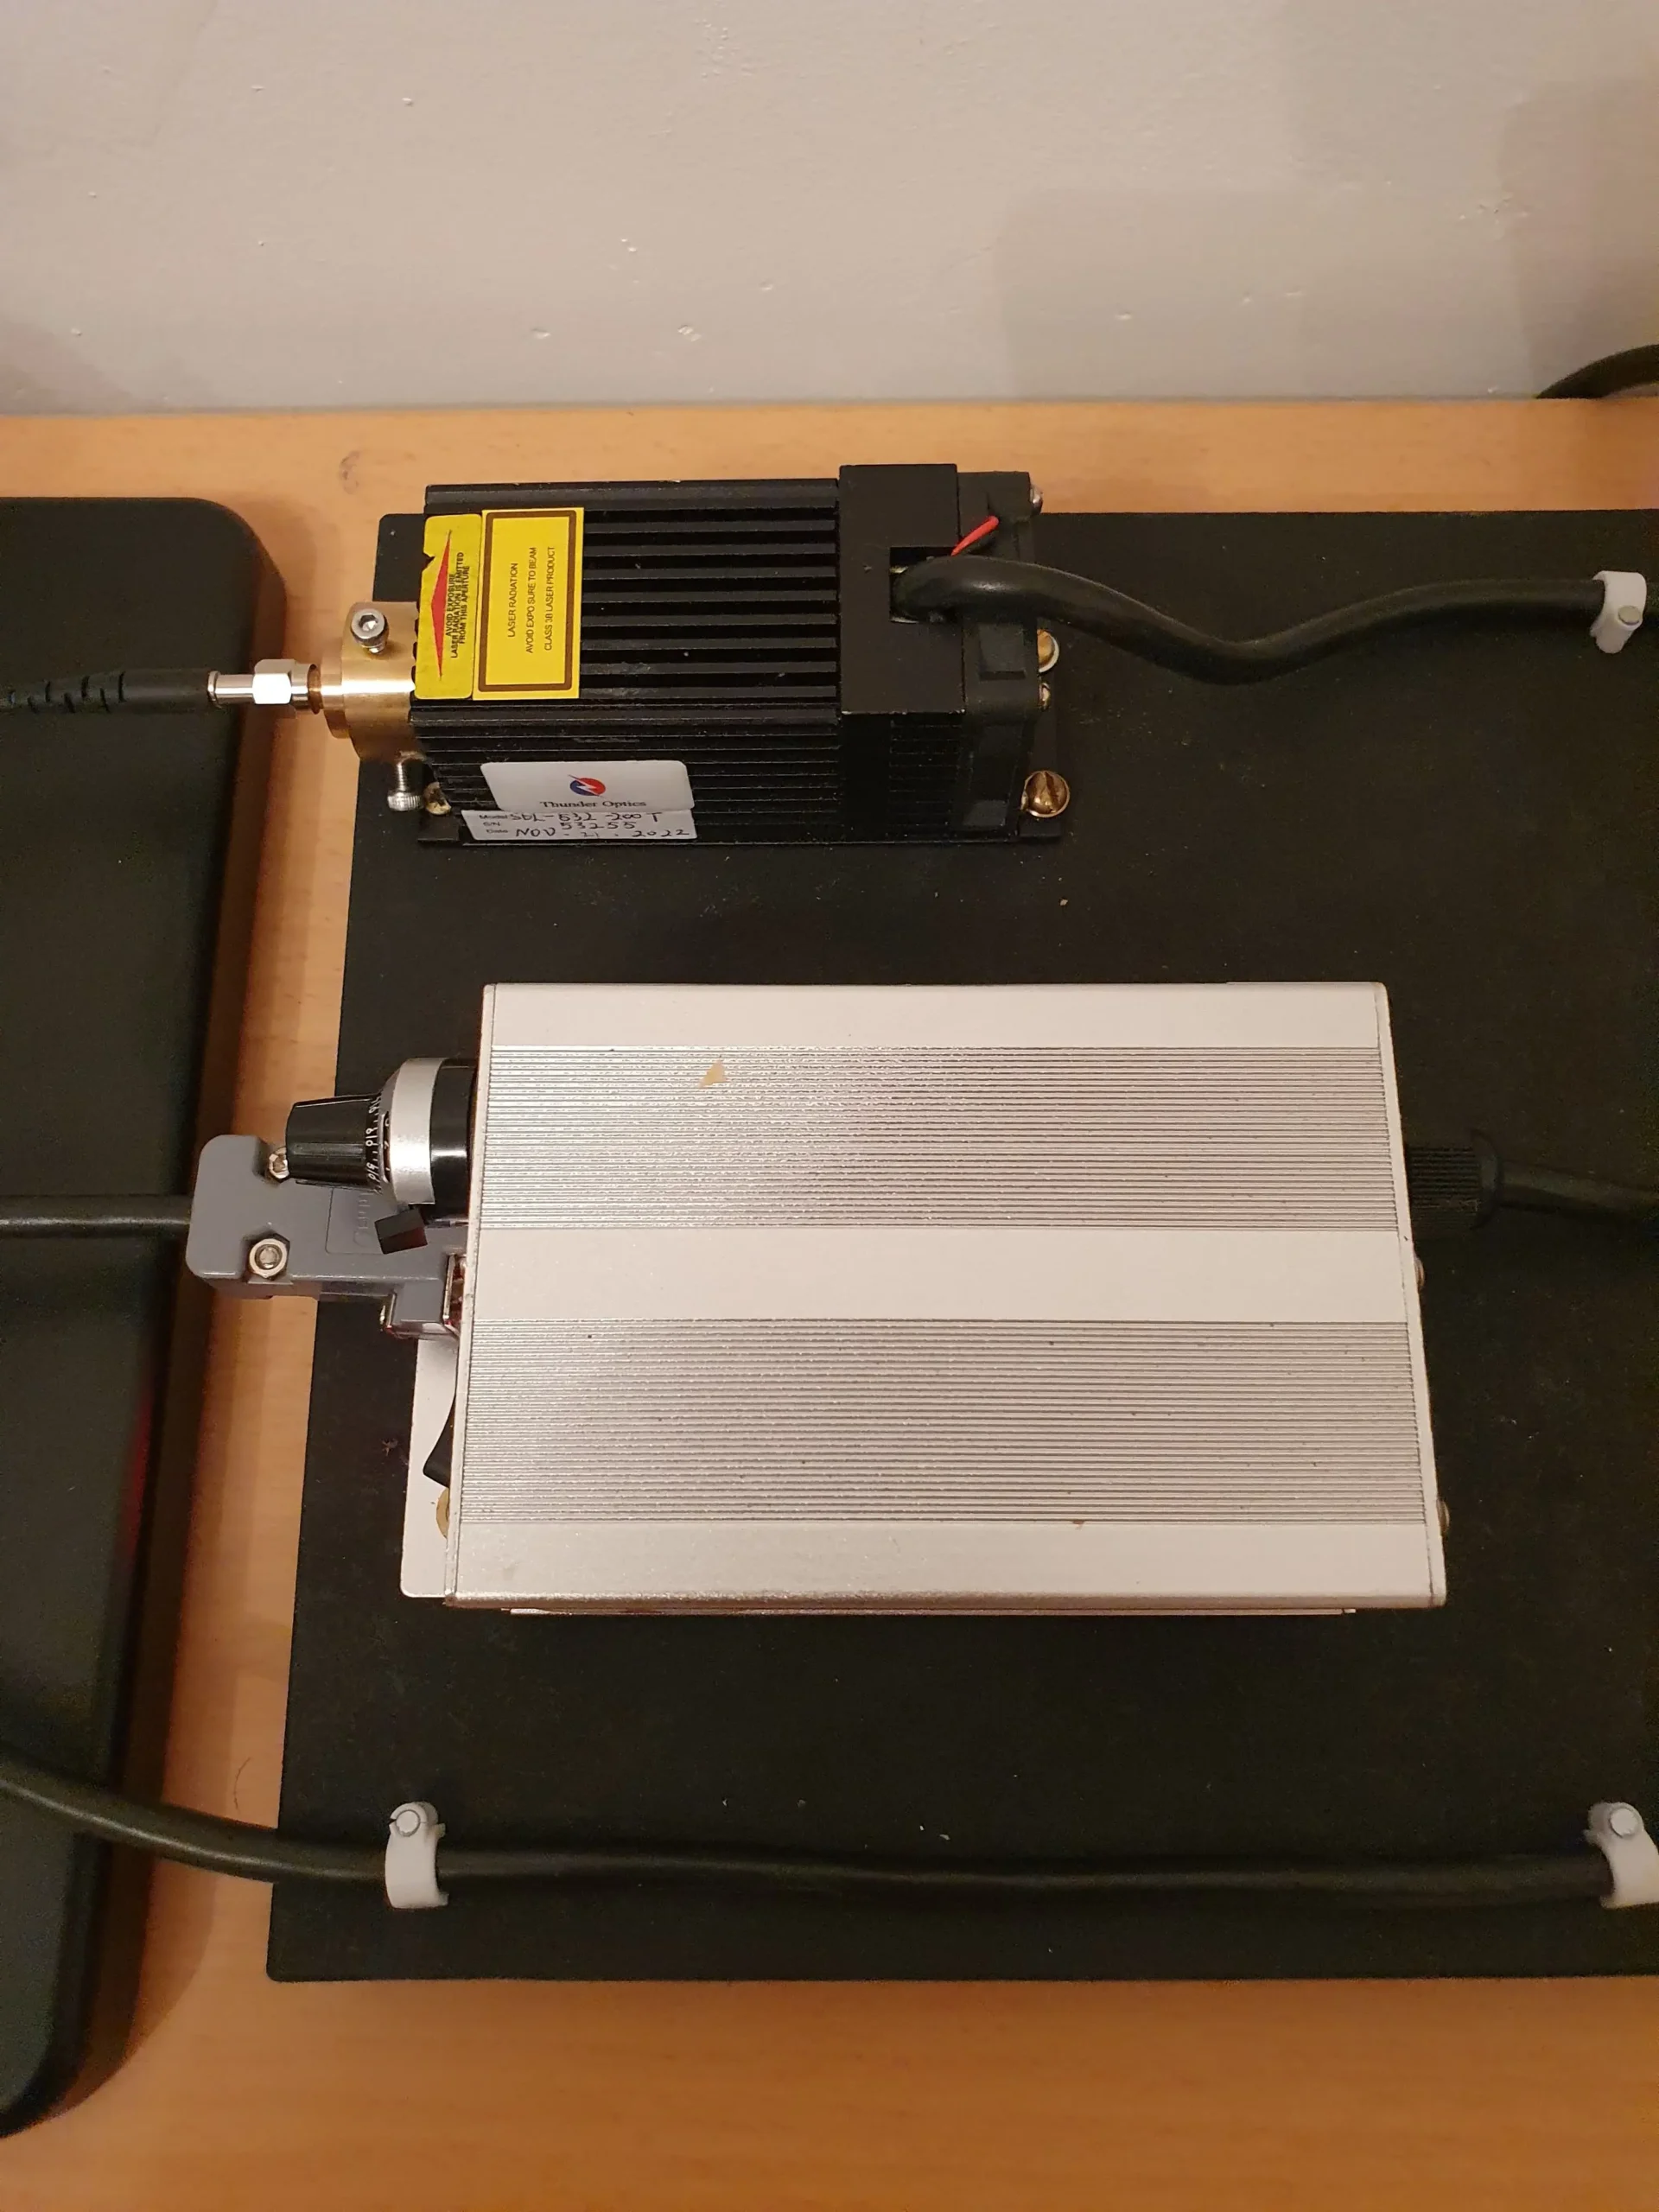
It should be clear by now that the choice of laser wavelength, therefore, has to be a compromise. A 532 nm laser in the green is a good general purpose laser wavelength for many applications. It is a good choice for many inorganic materials such as minerals, metal oxides and similar samples. When fluorescence becomes too dominant, changing to a 785 nm laser diode module can be an option. The Raman signal will be lower in intensity, but interference from fluorescence will be much reduced.
All of the laser wavelengths mentioned above can be used to obtain Raman spectra. It is the nature of the sample that will ultimately determine whether the suppression of fluorescence is the most important criterion, and to what extent, and how sensitive the sample is to thermal damage.